Hello there! Happy Wednesday! I hope you getting on just fine and finding things to keep you sane during this time we are passing through. As you may well know sewing is one of the things i do now to occupy especially that I spend the day alone at home.
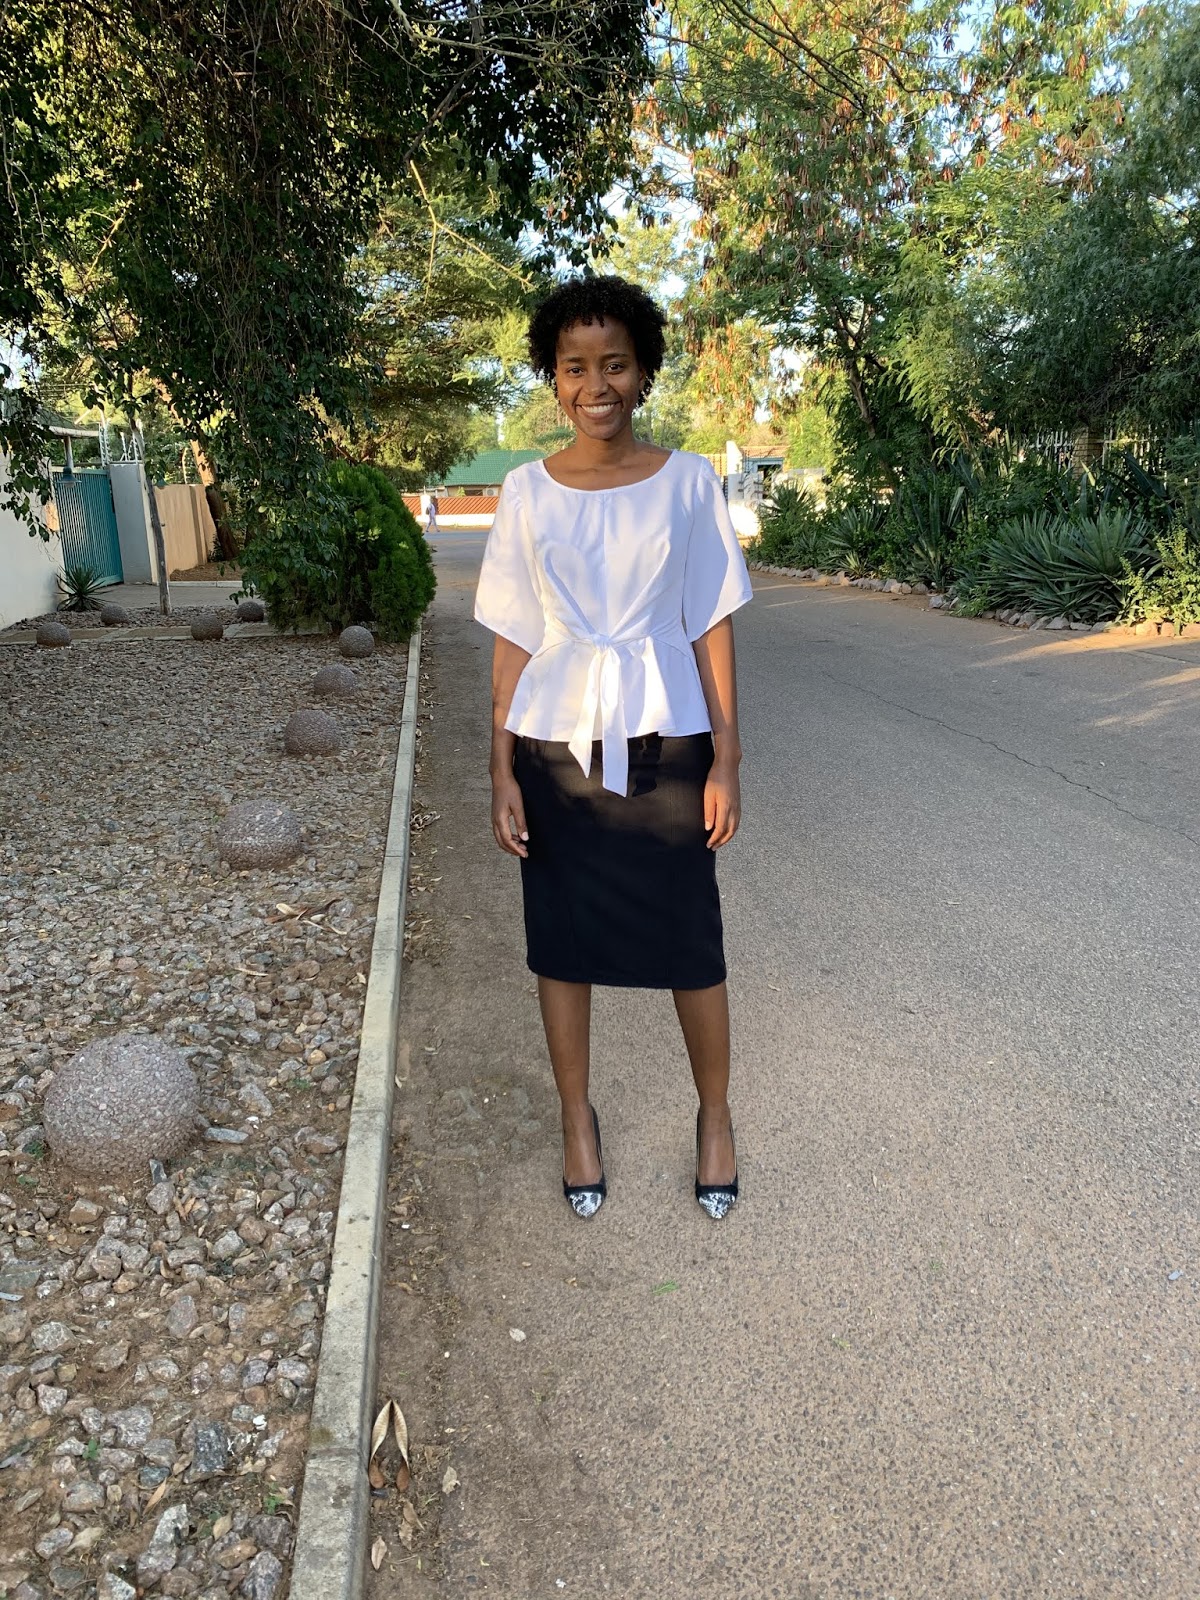
Now let’s get onto to it,i made this top a few weeks ago but only managed to take photos of it this week,better late than never!

Initially I had planned to make a pussy bow blouse with this fabric. However my eye fell upon this top (see pic below) on Pinterest and I immediately changed plans.I thought it's such a beautiful blouse and I was intrigued by the design and I was looking forward to tackling. Unfortunately I really struggled trying to figure out how to draft the pattern. Thankfully, I have a friend who sews who I always consult when I am stuck on my sewing projects (bless her heart).So I consulted her and she threw in some ideas that I pieced together to finally have something close to the inspiration. I took some fabric scraps that I knew I was not going to use and tried the draft on them first, my first attempt didn't go so well but then I figured it out on the second attempt. I must really emphasize that it is important that you make a toile/muslin before you cut into your main fabric if you are unsure about a design. It may sound like it's tedious work but trust me it is worth it and it will save you from ruining your precious fabric.


THE CONSTRUCTION
I had exactly 1 meter of this fabric, the good thing about it is that it was more than 55 inches wide. It feels more like a viscose but I could be wrong. I wish our fabric stores would do a better job in labelling their fabrics and also putting wash care instructions, as it is most of the time we just wing it and go by the feel of the fabric except for obvious fabrics. Anyhu!!
- I made a bias strip from the fabric using the main fabric
- 5 main pattern pieces (front bodice, back bodice, sleeve, peplum back & peplum front)
- invisible zip closure at the back
- narrow hem for both sleeve and peplum hem
Here is a picture of how the pattern pieces looked like for those of you who are visual like me.

I am pleased with my attempt and this is a welcome addition to my work wardrobe. If I was to make it again (which I doubt) I would cut and spread more on the bodice front to have that fuller flowy look and also the overlap piece could have been bigger. My choice of fabric also played a role, even though it is light weight it does not drape a lot. I also learnt that there is need to INTERFACE the zip allowance area on a light weight fabrics to prevent the seam from puckering, but that light came in a little to late for me for this project, so I will live with the puckering, lol


Thank You for stopping by the Blog! Keep Safe!
Blessings!!


Wow i am inspired Mma Mojela well done.
ReplyDeleteAnything is possible if you believe in yourself
Thank you Boi! And defo whatever you put your mind to you can achieve.
Delete